Today I tackled the Longerons. It took about four hours. The hardest part was spreading the ends 5.4 degrees. Here are the tools I planned to use. I decided to use my press instead of a vice.
Here is the set up for spreading the channel
Found that it worked better without the sockets
Here I am pressing the bend with the Dies
First one done. I had completed page 23-3 before I started the bends. I found that it helped a lot to be able to put everything together to measure.
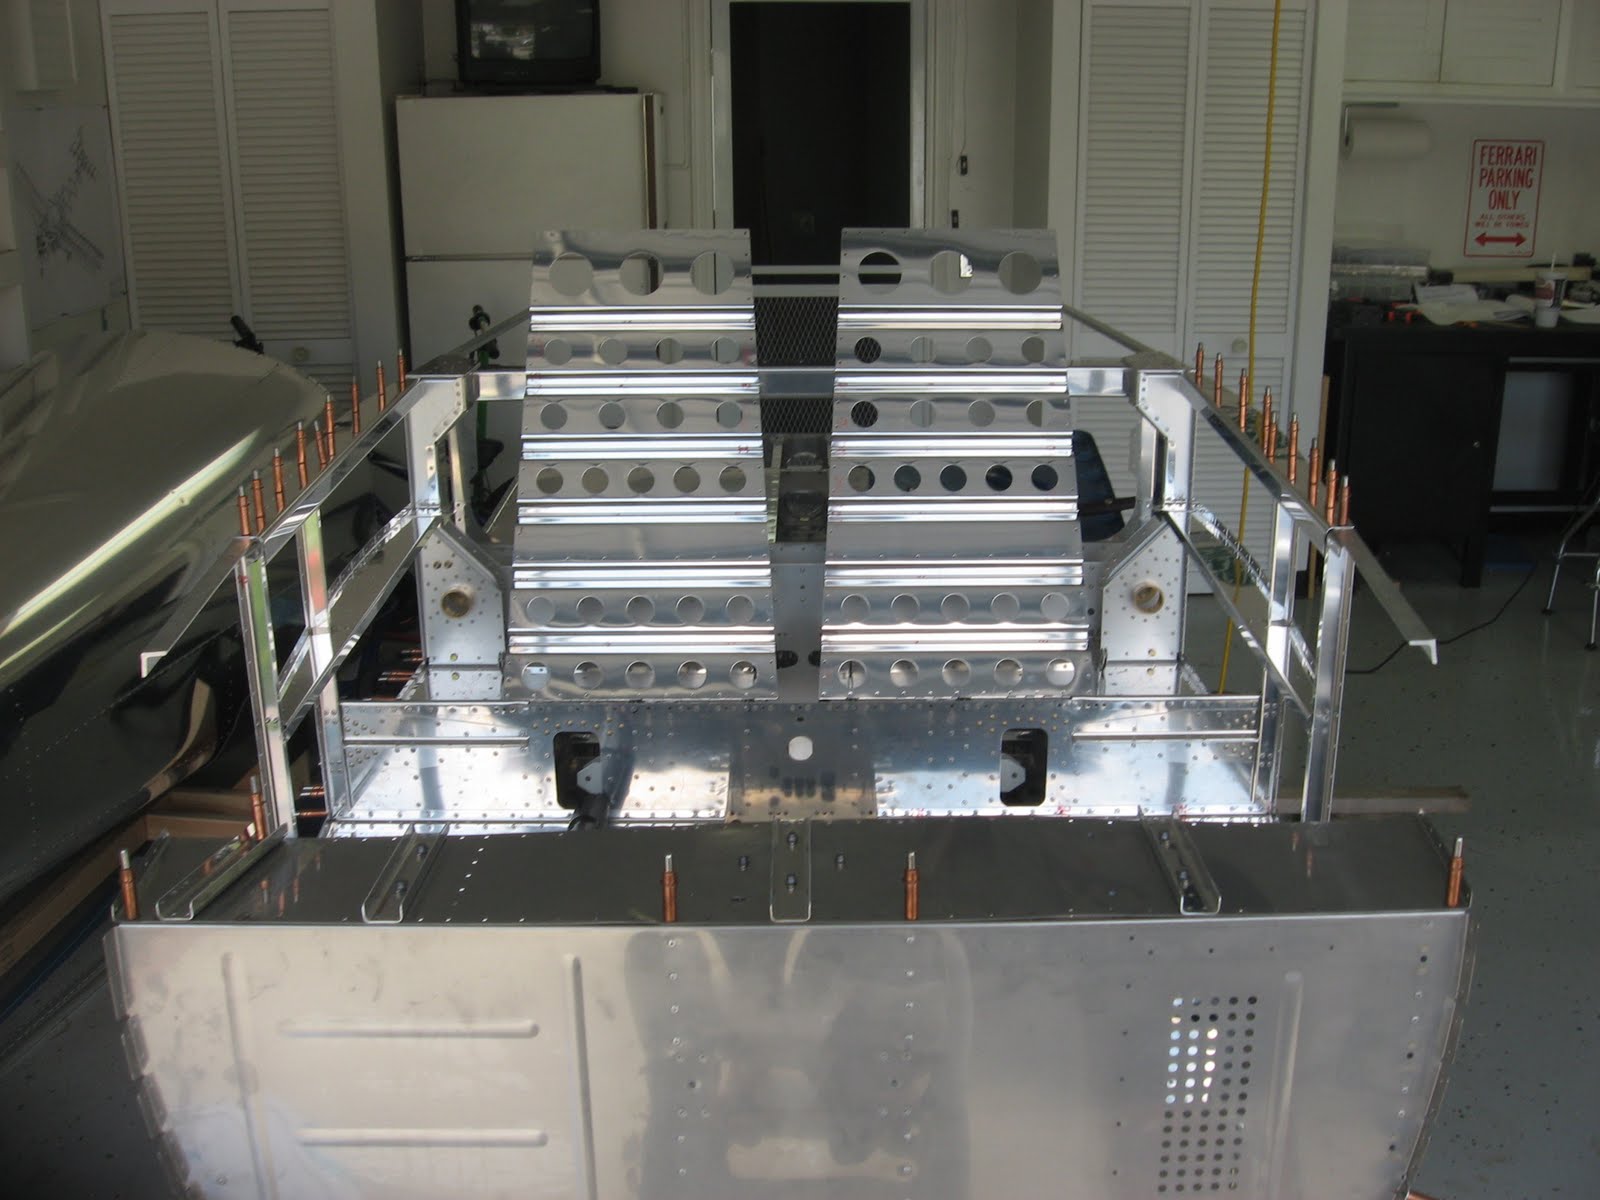
Both done
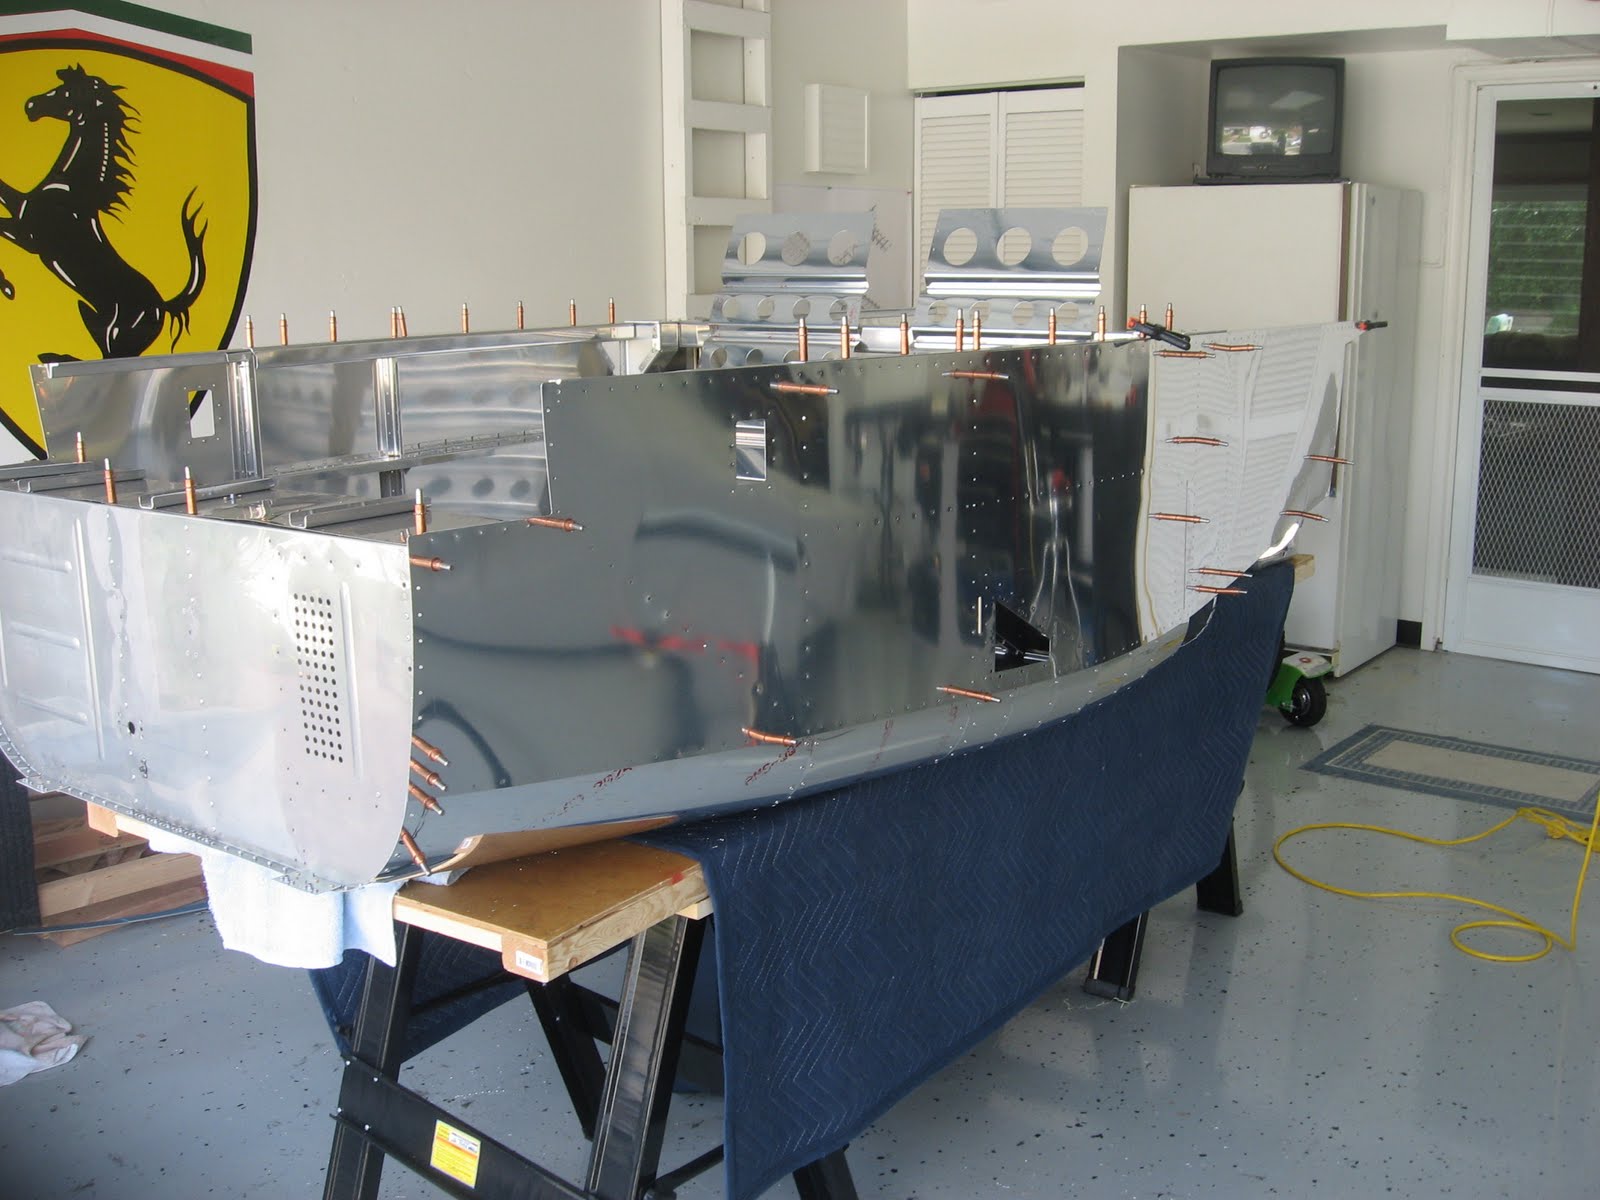
Put the skins on to see how it would look
Sunday, June 12, 2011
Saturday, June 11, 2011
Up to the Longerons
This week I got the whole bottom end of the fuselage riveted together. I then put in the arm rest and side rails. I am now ready to build the longerons. I cut them to length and carefully measured all the bend points. I tapered the rear of the angle iron. I purchased the dies from Larry and tomorrow I will make the bends.
Sunday, June 5, 2011
Forward Fuselage
Not much to show. Worked on the forward fuselage. I need to order some gas tank sealer for the firewall before I can lock it all down.
Next weekend I start the Longerons
Sunday, May 29, 2011
Bottom of the Fuselage
Not a lot to show. Just more work on the fuselage.
Got the control bar in
Some ribs and some riveting
Scalops
Got the control bar in
Some ribs and some riveting
Scalops
Ed was in the hospital today for a small operation but he made it back in time to do some riveting.
Along with his daughter
Jumping ahead
Starting to skin the bottom
Sunday, May 22, 2011
Saturday, May 21, 2011
Putting the engine in an RV-12
Today I put an engine in an RV-12. I was all set to work on my fuselage all day but I got a call from Gary on Friday night and he needed help putting the engine his bird. Gary lives about 5 miles away from me and he is almost finished with his RV-12. I was happy to help. The engine went in without any problems.
Monday, May 16, 2011
Making good metal into Scrap
Sunday was a bad build day for me. I completed the seat rib assembly but did not want to attach it to the main bulkhead as I still have some rivets to pull when I get a new rivet puller. I went on with the forward bulkhead on pages 21-10. I started with countersinking the control column mount. I marked them so that I would drill the right side. But, by the time I had completed the 3rd unit, I realized I had marked the wrong side and just created 3 scrap pieces. Then I went on to counter sink the bulkhead. This time I confirmed that I had the correct side. I reached up to grab one of my brand new scrap pieces so that I could set the counter sink cage. All went well until I realized that I had grabbed the spar support bracket and I just created my 4th piece of scrap. I went to drill out the 7/16th holes in the bulkhead and without going into detail, let’s just say that I made my last piece of scrap metal for the day. I was done until next week end.
Lots of Scrap.......
Subscribe to:
Posts (Atom)